
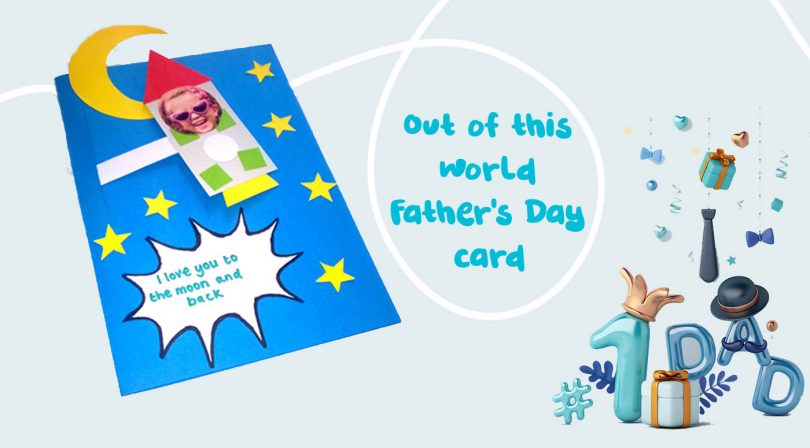

Show your appreciation for Dad this Father’s Day,
with a homemade card that he is sure to love in every way!
Grab your card, scissors, pencil and glue,
And make this super cool card for Dad from you!
This super fun homemade Father’s Day card is a brilliant way of making it more personal and well as keeping the little ones occupied for a couple of hours!!! – Which is always a bonus!
What you will need:
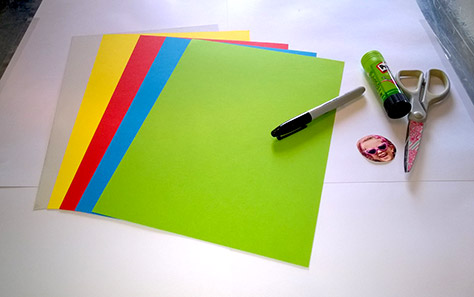
A sheet of A4 card in each of your chosen colours. (We’ve used white, grey, yellow, red, blue, and yellow however you can be as creative as you like.)
Small photo of your child’s face (cut into a circle)
Glue
Scissors
Pen
How to make:
Step 1 – Fold the blue card in half and cut the shapes out
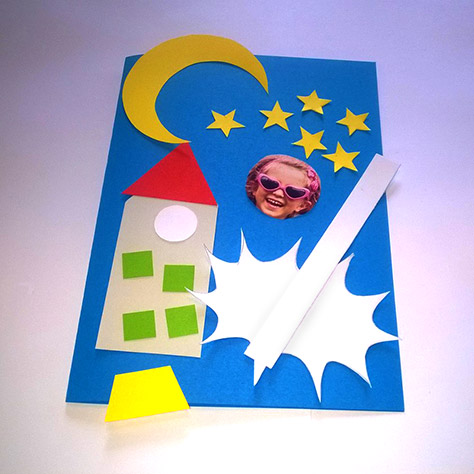
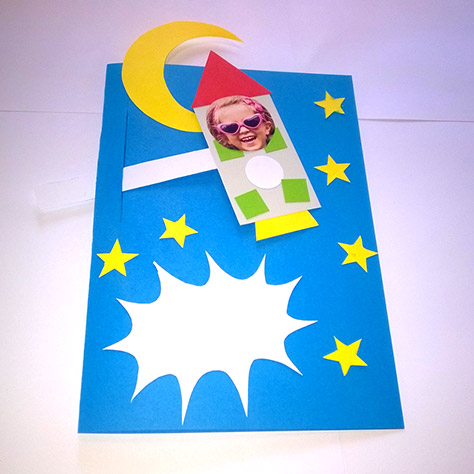
The shapes you’ll need are a rectangle, triangle, a small circle (the size of a penny), four small squares and a trapezium – these are all for the rocket. You also need a strip of card that is at least 1cm in width to make your rocket fly, an ‘explosion’ shape for the writing, a crescent moon, and some stars. I’d recommend using some gold sticky stars as it is a lot less fiddly than cutting and the kids love sticking stars onto the card for a shiny effect!
Step 2 – Make two cuts in the card, one near to the fold and the other slightly lower down actually on the fold

This is the tricky bit and definitely one for the adults to do. We used a sharp knife rather than scissors to make the cuts which we found much easier.
Step 3 – Stick your rocket together
Have a look at the picture above which shows you how to fit the rocket shapes together. Of course, you can be creative as you wish but this will give you a good idea. Don’t forget to stick your strip of card to the back of the rocket as this will help it fly!
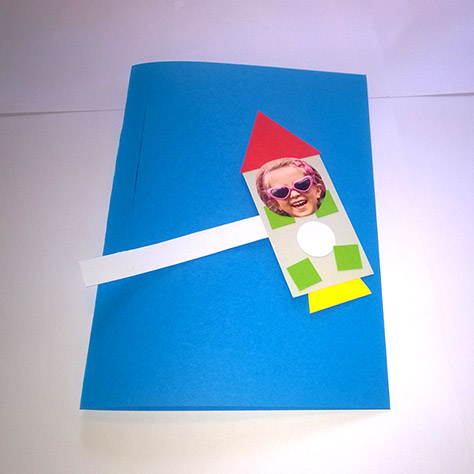
Step 4 – Stick the finishing touches to your card
Feed the strip of card which is attached to the rocket through the cuts in the card, and get sticking with your remaining shapes.
Step 5 – Write your chosen message on the front of the card
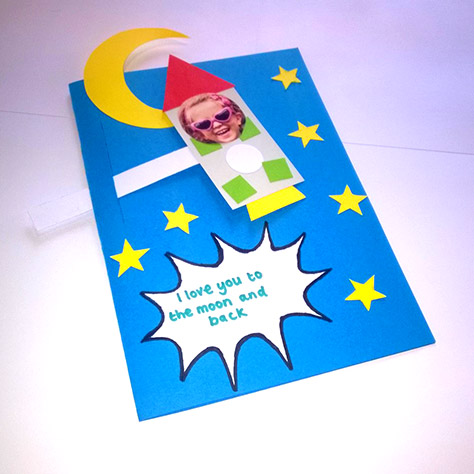
And hey presto you have a perfect rocking rocket Father’s Day card!
Have you made a brilliant homemade Father’s Day card? We’d really love to know! Someone else might love it, and really want to go! If you’ve got ideas, suggestions or reviews, you can shout all about it on whatever channel you choose!
Follow us on Facebook, Twitter or tag us on Instagram using #PicniqUK! ❤️