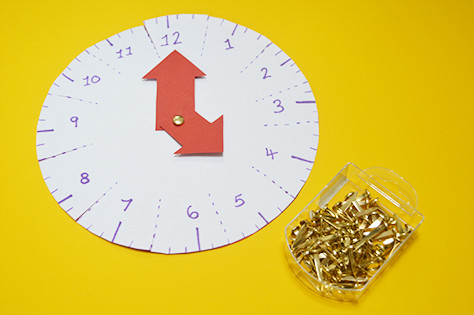
Let’s go and get crafty to get us learning fast,
Why not try this clock which really is a blast!
It’s super easy and won’t take long to do,
And is lots of fun and educational too!
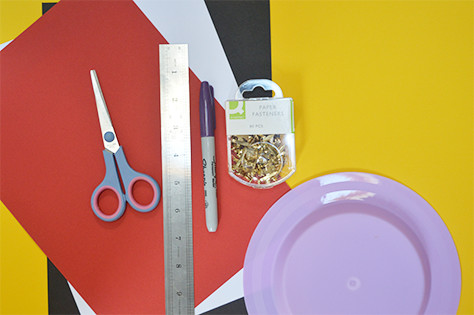
Here’s what you’ll need:
Red card
White paper
Push pins
Scissors
Black marker
Small plate
How to make:
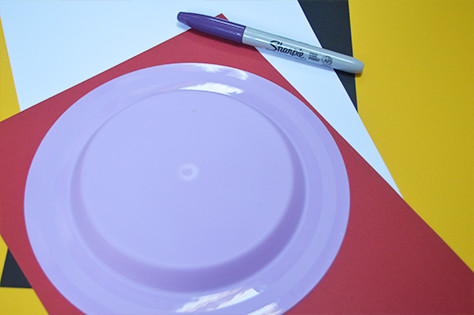
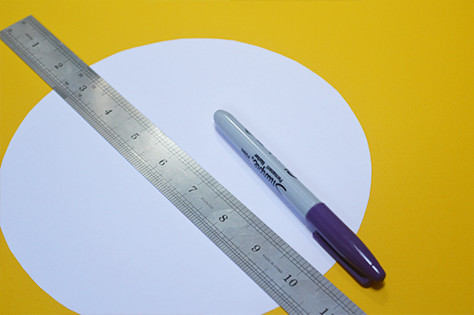
1. Start by drawing around the plate onto the red card to get your circle.
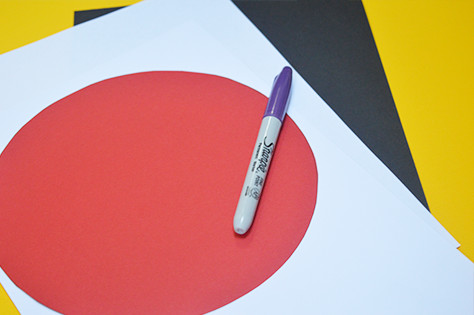
2. Cut out the circle.
3. Do the same using your white paper.
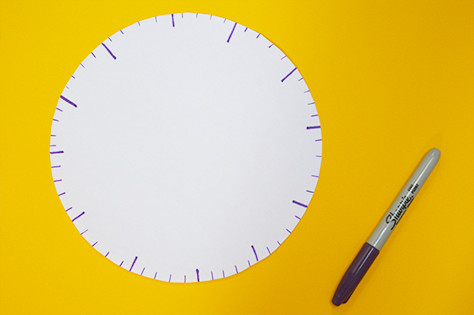
4. Now, on the white paper and using your ruler and marker, mark where the points of the clock will be.
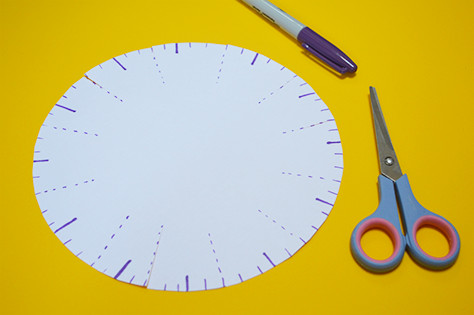
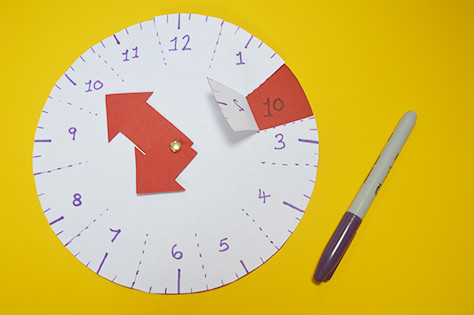
5. Draw dotted lines from the third minute after the main points leading towards the centre and cut along them.
6. Now cut out two arrows – one slightly larger for the minute hand and one smaller for the hour.
7. Pierce your push pin through the bottom centre of the arrows.
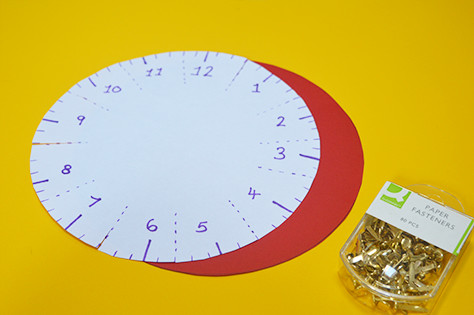
8. Align both of your circles and pierce the push pin (with the arrows attached) through the centre.
9. Now the circles are aligned, lift the cut sections of paper to write the numbers underneath each.
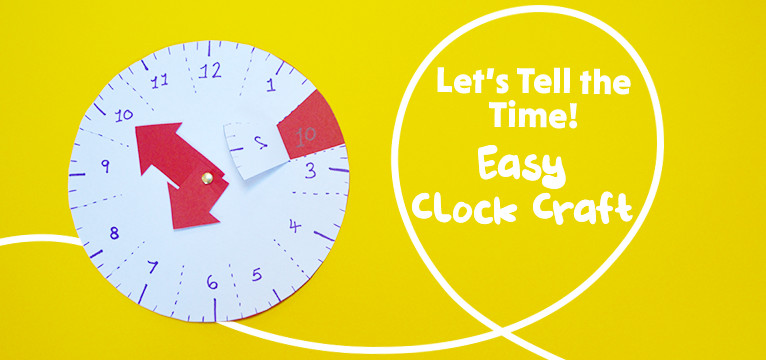
Tadaa! Your homemade clock is ready! Your little ones can learn how to tell times in a fun way 🙂
What have you been up to? We’d really love to know! Someone else might love it, and really want to go! If you’ve got ideas, suggestions or reviews, you can shout all about it on whatever channel you choose!
Lets go on a Picniq! Follow us on Facebook, Twitter or tag us on Instagram using #PicniqUK! ❤️

