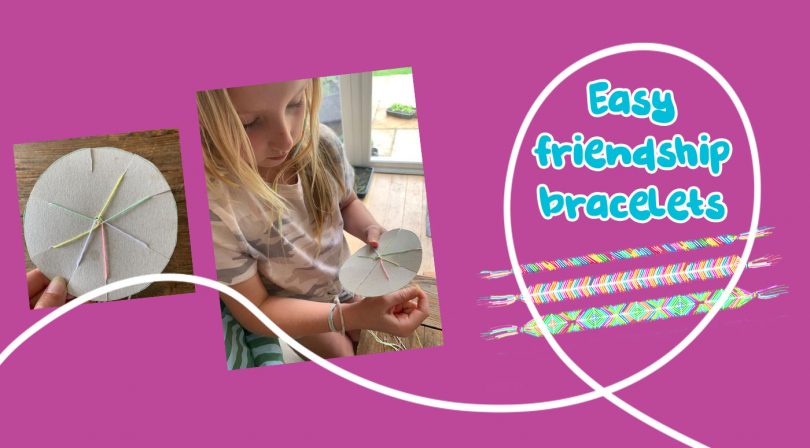

Let’s go and be crafty… I wonder what we can make?
How about these friendship bracelets that are easy to create!
You’ll need yarn, cardboard, scissors and a small can too
To make these simple but fun friendship bracelets for your friends and you!
What you will need:
7 x 50cm yarn in your chosen colours
Cardboard
Scissors
Tin can for making the template
How to make:
- Begin by using a can, or similar circular base object, to draw around on a piece of cardboard. Once you have done this cut out your cardboard circle. This cutting job may be one for the Mums and Dads unless you have some child-friendly scissors!2. Next, draw four lines across your cardboard disc. It should create eight equal segments.
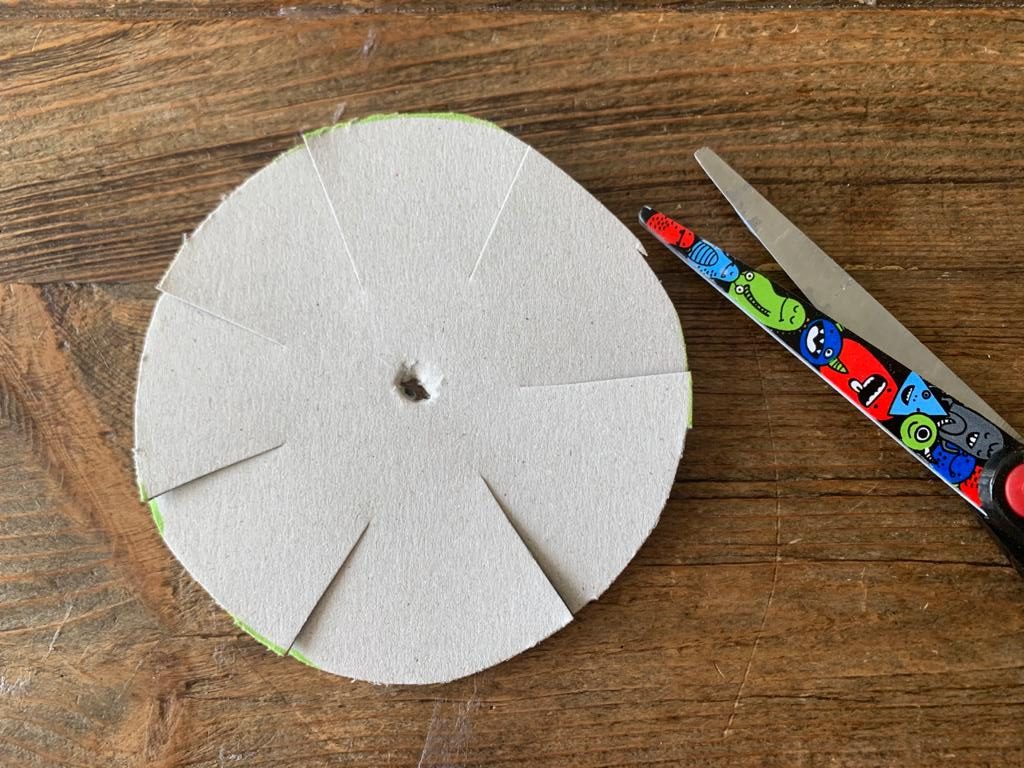
3. Now, using your pencil make a hole in the middle of your cardboard disc (be careful not to poke your hand)! Then make a 1cm cut into each of the lines you have drawn. – This is so you have approximately 1cm cut, 2cm uncut and then the hole.
4. Next, line up your seven strands of yarn and tie a knot at the end. Once you have done this, thread your strands through the hole in the centre of the cardboard disc.
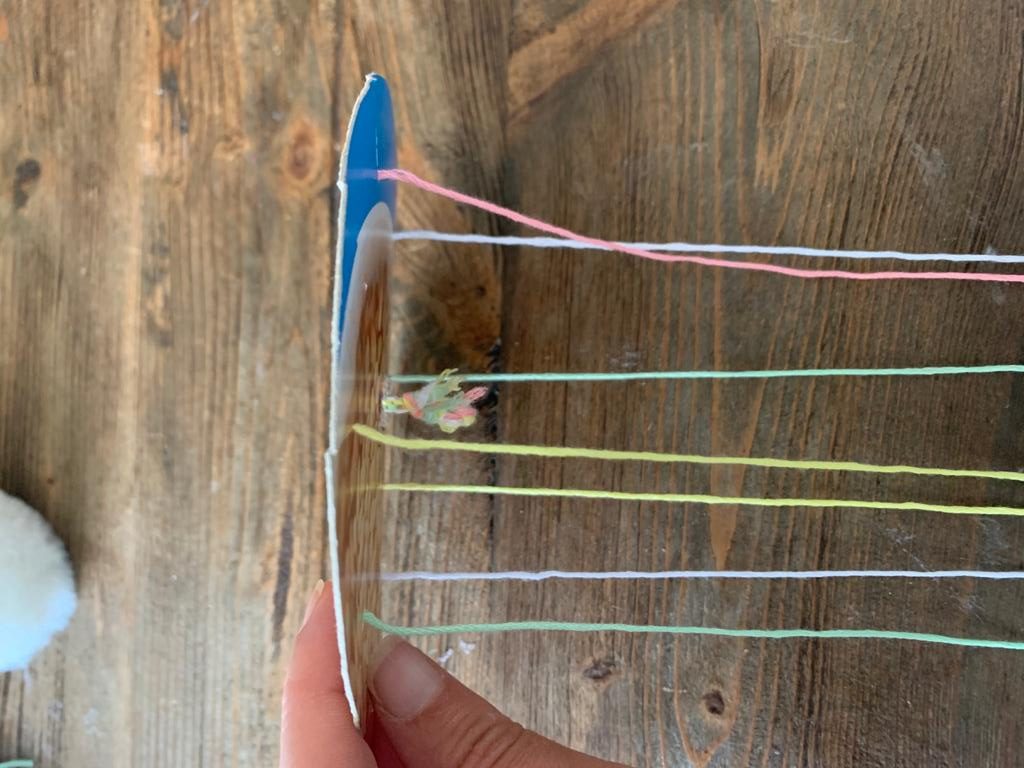
5. Now, taking one strand at a time, slot it through one of the 1cm strips except the top slot. After doing this step, you should have 7 strands tucked in with one ‘space slot’ left, this being the top one.
6. It’s time to now begin braiding your bracelet – which is super simple as there are just two steps to follow which you will repeat over and over again!
Step A: Hold the disc so that the empty slot is at the top. Unclip whichever yarn is in the bottom right slot and clip it into the top slot which has been left empty.
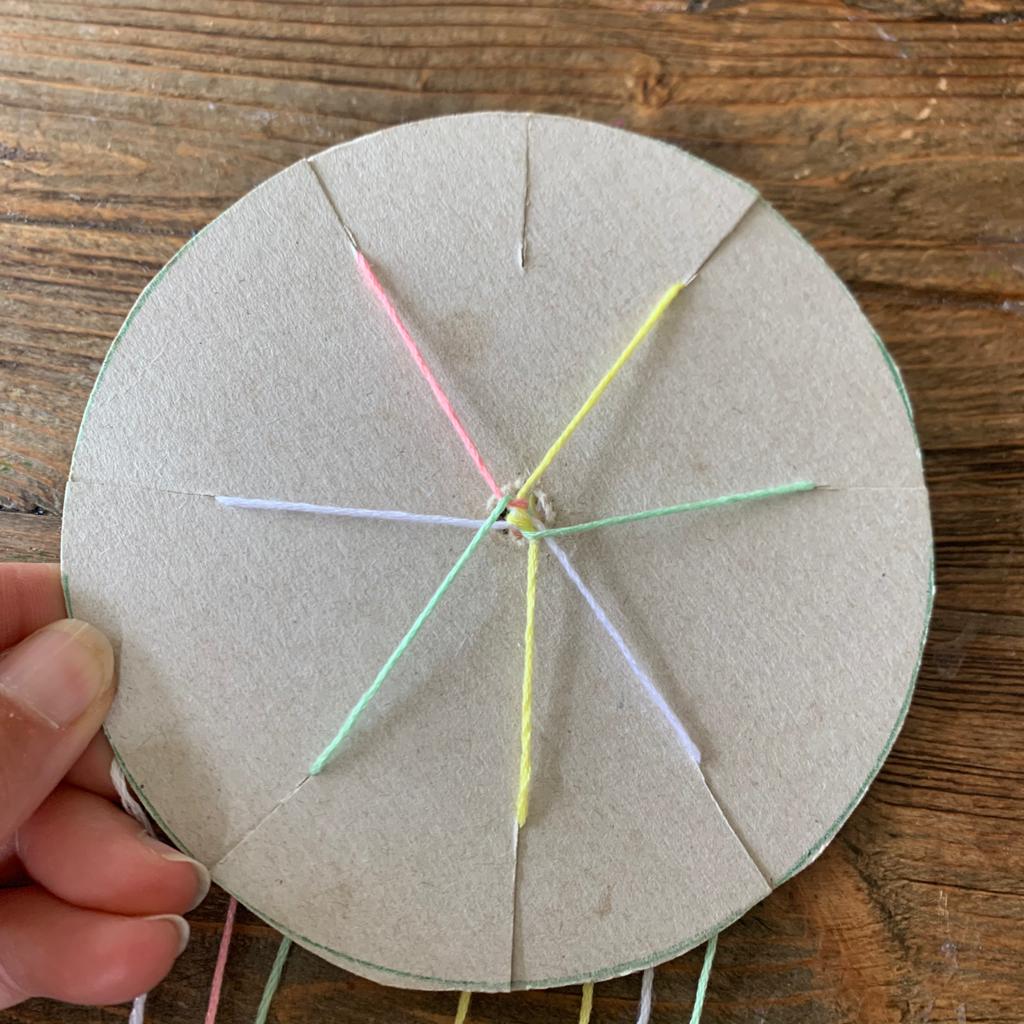
Step B: Now, your bottom right slot should be empty. Rotate the whole disc so that the empty slot is back at the top again.

7. Now, just keep repeating Step A, Step B, step A, step B and so on! You will see your bracelet growing down through the hole in the centre of the disc.
8. Once the bracelet is big enough to fit around your friends and your wrist unclip it from the disc. Tie a knot at the point where the braiding ends and then another knot about 1cm away. Trim and loose ends and there you have it, your complete friendship bracelets!
Do you know any other cool crafts? We’d really love to know! Someone else might love it, and really want to give them a go! If you’ve got ideas, suggestions or reviews, you can shout all about it on whatever channel you choose!
Let’s go on a Picniq! Follow us on Facebook, Twitter or tag us on Instagram using #PicniqUK! ❤️